

This tutorial shows how to build a DIY Humidifier that is connected to your tap water for automatic refill. I live in Canada where winters are extremely dry. To keep humidity at 60% in my drying or veg room required filling up a 4L TaoTronics humidifier very frequently, sometimes twice per day. This DIY humidifier costs around $30 to build and the humidity control is $20-60.
I tried to buy something like this but it is simply not available for purchase. I thought about retrofitting an existing humidifier but all you really need is the ultrasonic mister. My method is the most cost effective way to do this build. For aesthetics you could install this float valve on the reservoir of a pre-built humidifier like the TaoTronics one above.
Items needed:
- Ice Maker Installation Kit (allowing you to tap into a water valve)
- 1/4″ float ball valve (this will stop water flow when a certain level is reached)
- Ultrasonic Mister
- 3 gallon Bucket or 2.5 gallon container. Minimum Height 18″
- 3-5″ length of PVC pipe (I used leftover from my trellis net)
- Humidity Control: Cycle timer or Humidity Controller
Tools:
- Drill With Step Drill Bit
- Pliers
- Hot Glue Gun
Step 1: Install Float Valve
Drill a hole that is just large enough for the float valve near the bottom of the container. Remember that the rubber O-ring always goes on the inside of the container. The correct alignment is:
Float valve > Washer > O-ring > Bucket/Tote/Container > 1/4″ quick connect adapter

After installing the float valve hook it up to test that it works and there are no leaks. Use a marker to mark the water level line where it fills up to.
Step 2: Install Ultrasonic humidifier
The mister should be installed about ~2 cm below the water line for max efficiency of mist creation. If you install it too deep it will not work and if you install it too shallow it will shoot water up like a fountain instead of a mist. You may need to play around it it a bit but theres also a 1-2 cm margin where it operates effectively so don’t obsess about the depth too much.

Cut a length of pipe to keep the ultrasonic mister floating at the right level. I had some extra PVC kicking around from my trellis nets. I used a hot glue gun to secure it in place. Scuff up the bottom with sandpaper or scotchbrite to help the glue adhere to the slick bottom of the mister.

Plug the mister in to ensure that everything is working as expected. The little knob is a safety shutoff. If the unit is not underwater is will not operate, preventing overheating or damage from running the unit dry.

Step 3: Install Saddle Valve (From Ice Maker Installation Kit)

Installing these self-piercing saddle valves just requires clamping them onto your copper piping. Be sure to put the provided rubber gasket between the valve and the copper pipe.
Once the saddle is secured tighten the valve all the way down. This will pierce into the water line.
Setup the 1/4″ water line as shown below:

Screw this end into the saddle valve. The other end will just push into the float switch, provided you bought the one linked above with 1/4″ quick connect.

UPDATE: After testing this for a few weeks I found that my side walls were not high enough. I’d recommend a minimum of 16″ sidewall length from the ultrasonic mister to keep your floor dry.

Pictured above is the Inkbird Humidity Controller which pairs really well with this setup. As mentioned you can just run it on with the lights but that usually throws off VPD and makes transpiration too low. The humidity controller gives you granular control over the humidity in the room. I recommend running the humidity controller at 65-68% in the veg room.
Step 6: Humidity Control
You have a few options for humidity control. In order from cheapest to most expensive:
- Run the humidifier whenever the lights are on (only works in a very dry climate)
- Use a cycle timer – only costs $15-20 but you have to tinker with it to get the right cycle for your humidity. May require recalibration as humidity in your home fluctuates.
- Use a humidity controller ($45-60) – This is obviously the best option as you can fine tune the humidity to your liking and it will only pump out as much water as is needed

There you have it. That is how you build a DIY humidifier. The one on the right can now go in my bedroom. Funny how we sometimes take better care of our plants than our selves.
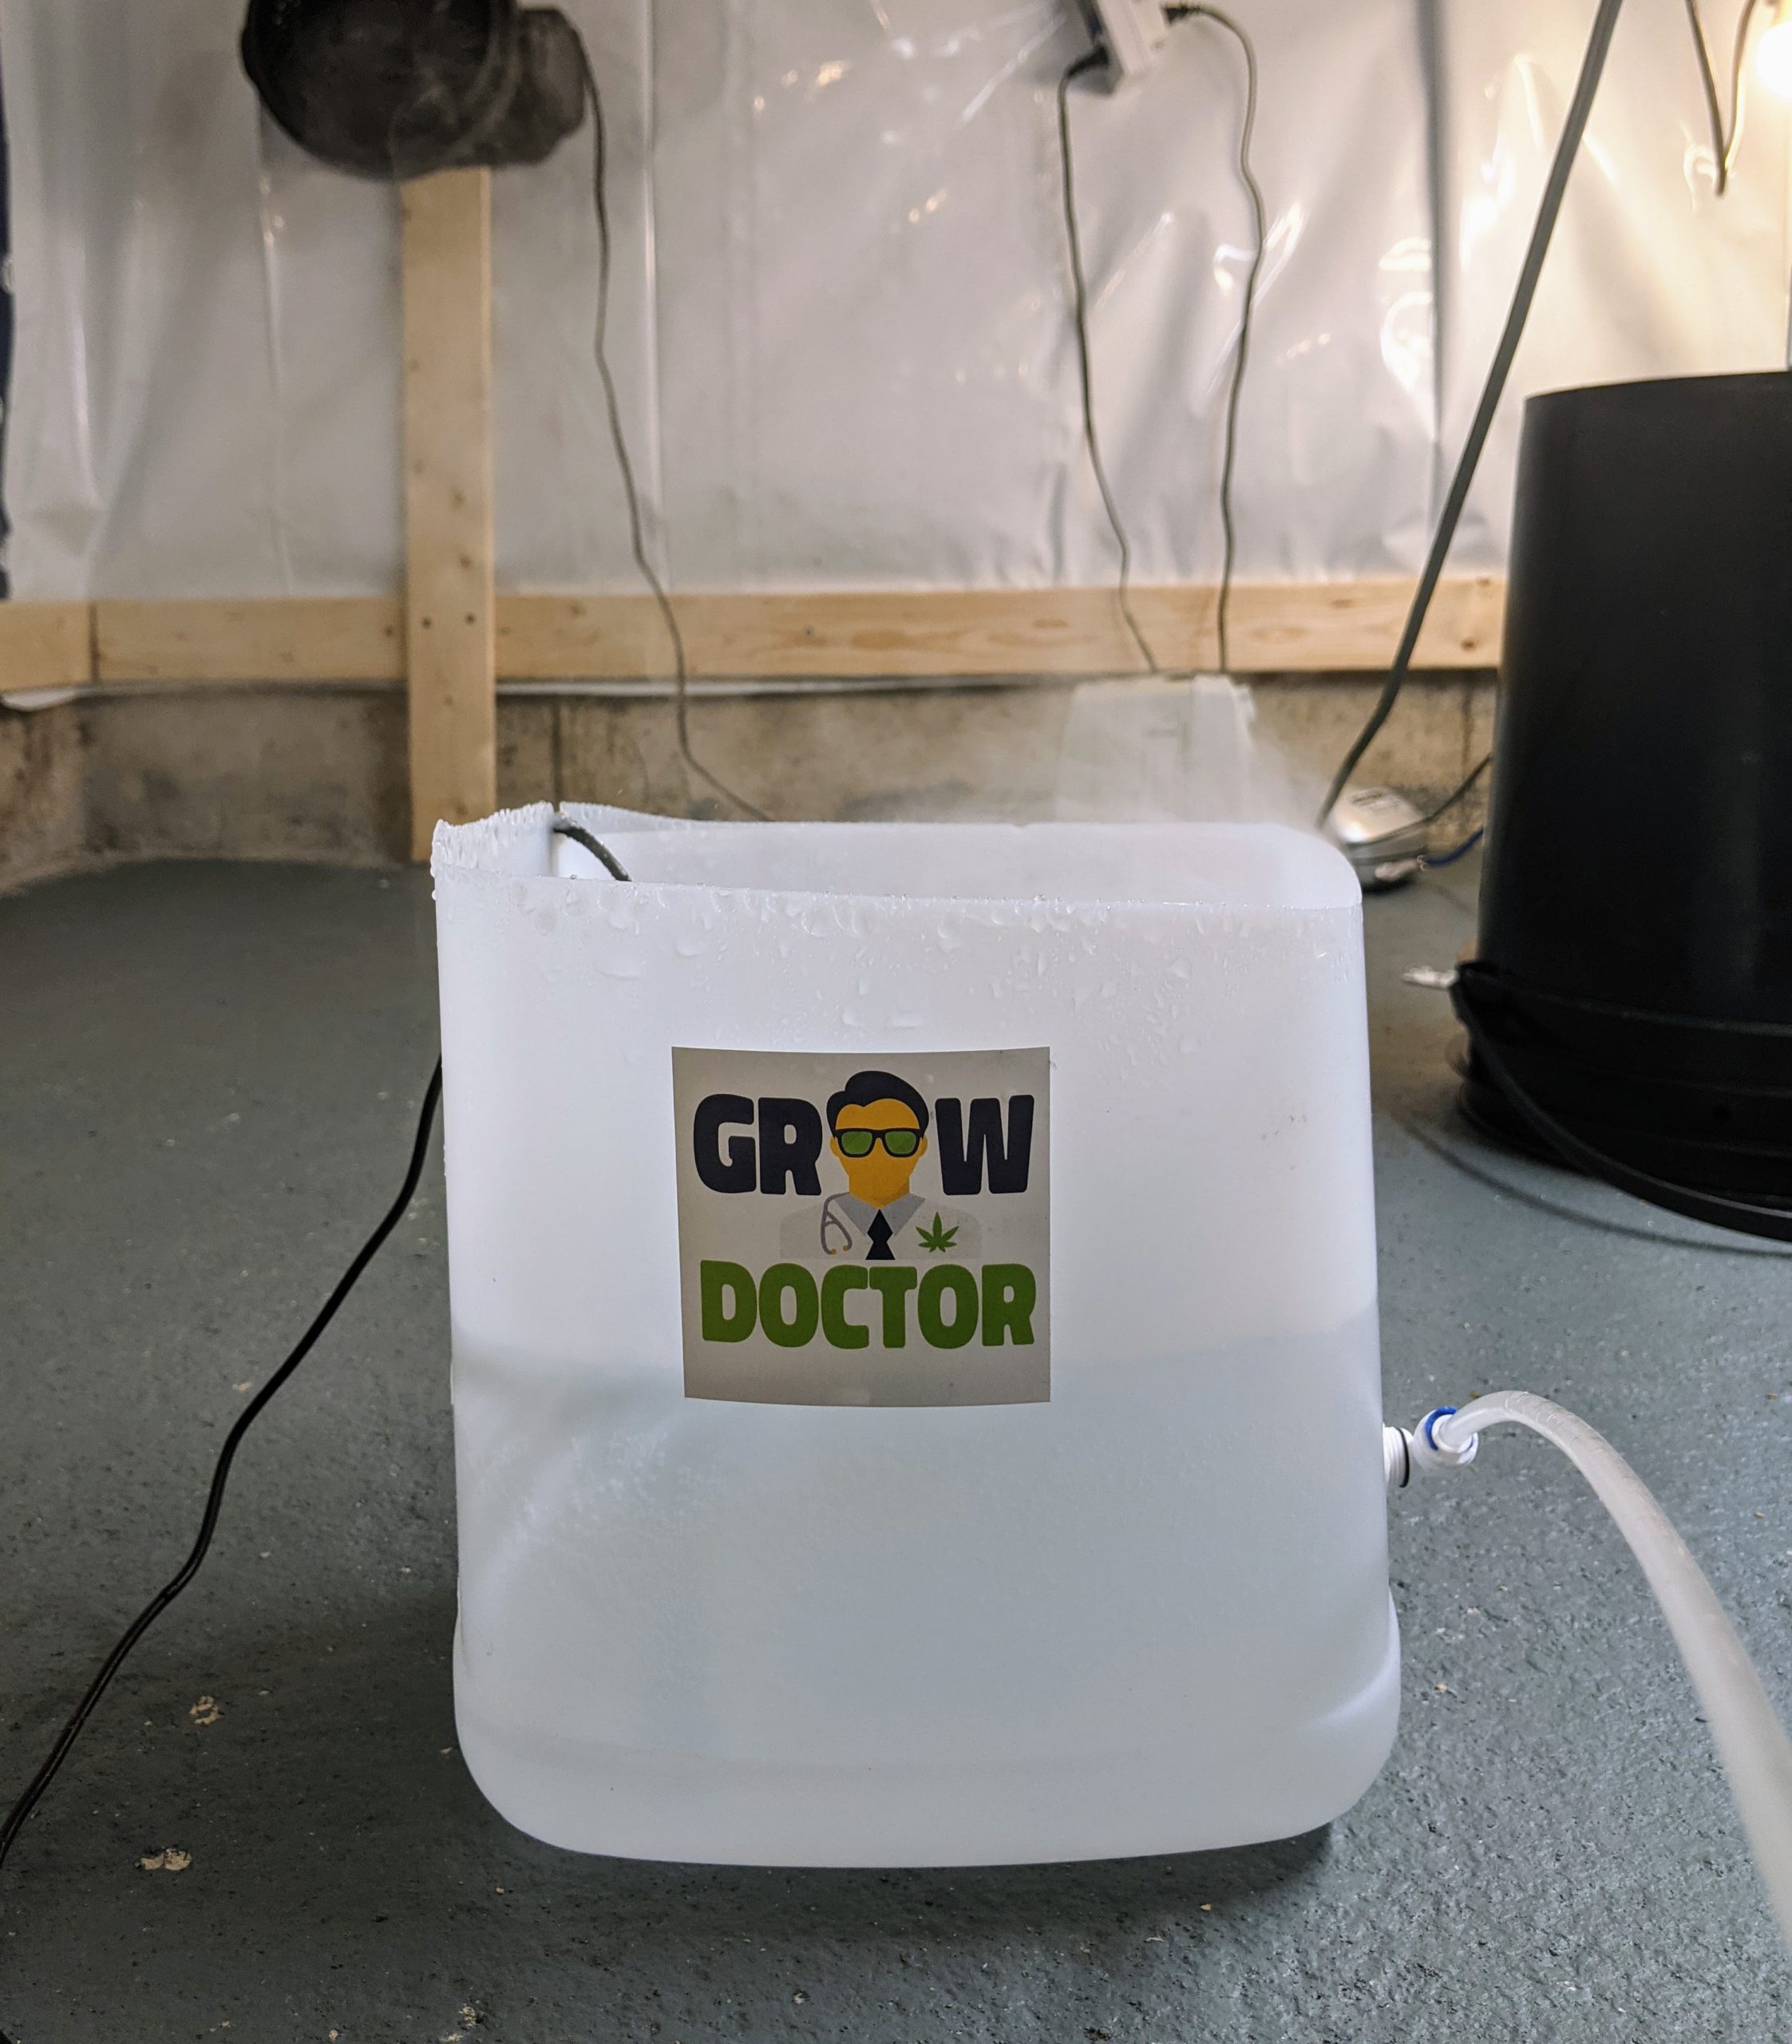
Mineral Salts and Hard Water (Wick Style Modification)
After running the humidifier you may notice small white particles (powder) on your plants. These are mineral salts (e.g. calcium, magnesium) that have been atomized by the humidifier. If you have very hard water the amount of mineral salts being atomized may become un-manageable.
This design can be re-worked by using a wick style evaporation instead. Use a clean cotton towel to soak up water from the bin, instead of atomizing it with the ultrasonic mister. The towel can be hung from the fan to keep it partially submerged. Point the fan at the towel to increase the rate of evaporation. You can run the fan on a humidity controller as shown below. Towel should be replaced with a clean one and container cleaned every 2-3 weeks.


